
7 Days Kilimanjaro shira route
Home » 7 Days Kilimanjaro shira route
7 Days, 6 Nights
Price On Request
Tour Overview
The 7-day Kilimanjaro Shira route begins on Mount Kilimanjaro’s western side, similar to the Lemosho Route. The two routes are nearly identical. The only significant difference is where each route begins; the Lemosho Route begins at the Londorossi Gates, whereas the Shira Route begins at the Morrum Barrier (3300m), which is further north and at a higher elevation.
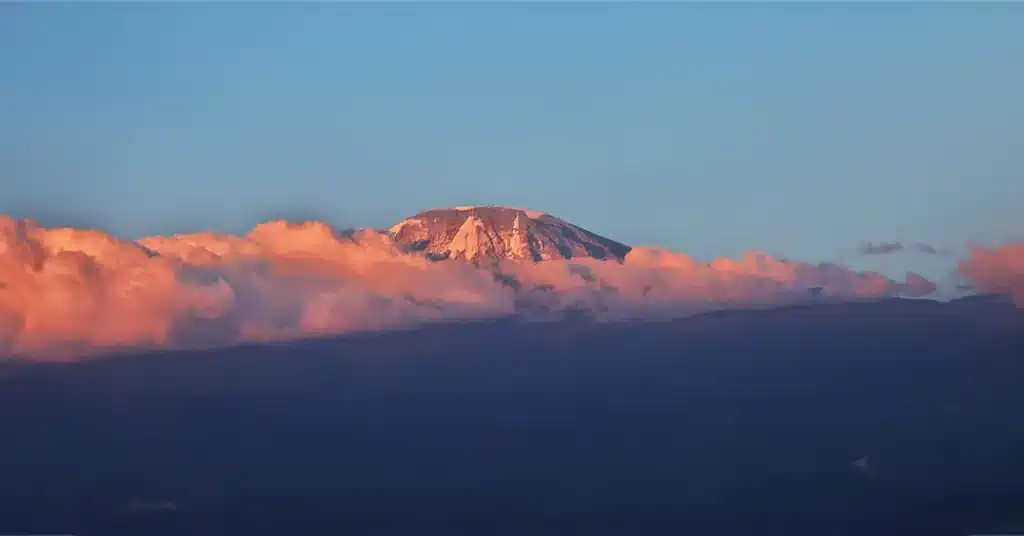
The Shira Route existed prior to the development of Kilimanjaro’s popular Lemosho Route. This thrilling Kilimanjaro trekking itinerary takes its name from the Shira Plateau, an ancient volcanic caldera that spans 13 kilometers of the mountain’s most dramatic alpine scenery. The Shira Route presents a world-class hiking opportunity with some of the best views in all of Tanzania.
Day by day
Day 1: Arusha – Londorossi Gate(2250m) – Morrum Barrier(3300m) – Shira Camp 1 (3500m)
Trekking time is 2-3 hours (from Morrum Barrier to Shira Camp). 1)
Zone: Montane Forest/Low Alpine
After breakfast and a briefing in Arusha, our guides will drive you to Londorossi Gate, where you will register with the Kilimanjaro National Park authorities. After registering at the gate, you will be taken to the Morrum Barrier, where the hike will begin.
From the Morrum Barrier, trek through heather and moorland until you reach Shira Camp 1 (3500m).
Dinner and overnight stay at Shira Camp 1 (3500m).
Day 2: Shira Camp 1 (3500m) – Shira Camp 2 (3840m)
Distance: ~ 6 km
Time: 4-5 hours
Zone: Low Alpine
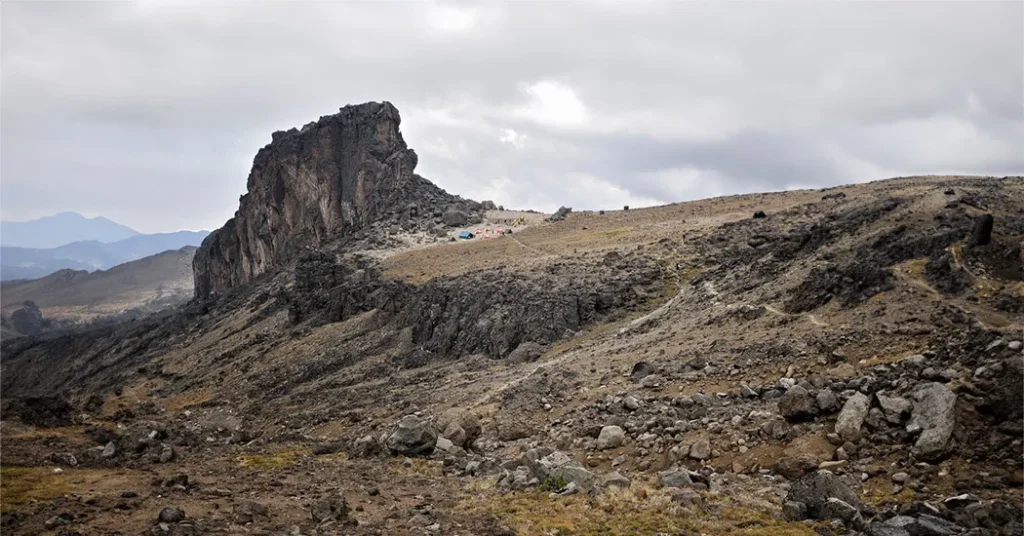
On this day, the trek will be relatively easy in order to help you acclimate. You will explore the moorlands and volcanic rocks before arriving at Shira Cathedral, a massive rock surrounded by steep spires and pinnacles. From Shira Cathedral, you will hike to Shira Camp 2 (3840m), where lunch will be served. The rest of the day will be spent resting.
Dinner and overnight accommodation at Shira Camp 2 (3840m).

Day 3: Shira Camp 2 (3840m) – Lava Tower (4630m) – Barranco Camp (3960m)
Distance: ~ 11 km
Time: 5-7 hours
Zone: Low Alpine / High Alpine
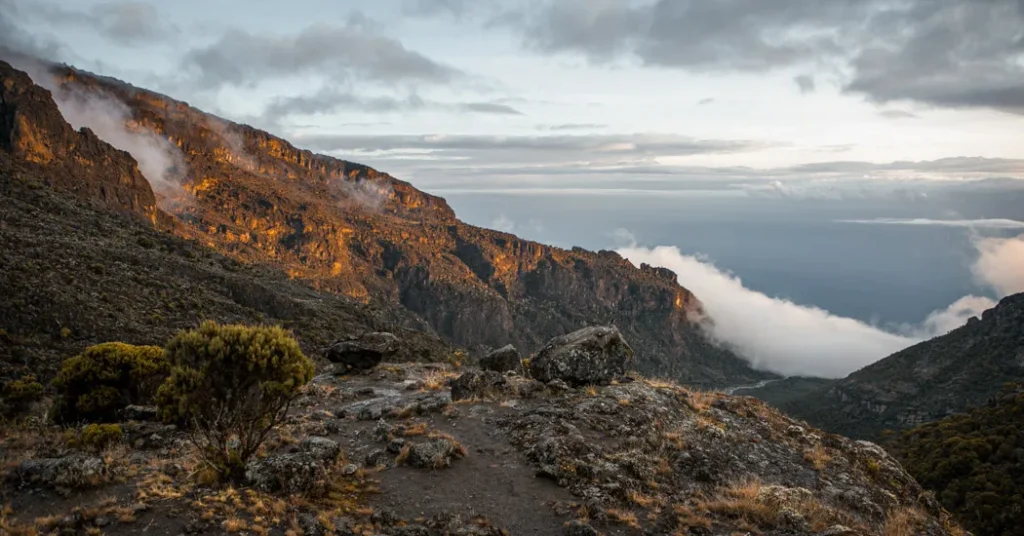
After breakfast at Shaira Camp 2, head east past a ridge before heading southeast toward the Lava Tower (4630m). As you approach the Lava Tower, the landscape becomes increasingly barren. Lunch will be served at the Lava Tower.
After lunch, the terrain will descend through the Barranco valley to Barranco Camp (3960m), which is nearly the same altitude as Shira Camp 2 (3840m), where you spent the night before. This ascent to the Lava Tower and subsequent descent to Barranco Camp allows your body to adjust to altitude changes.
Dinner and overnight accommodation at Barranco Camp (3960m).
Day 4: Barranco Camp (3960m) – Karanga Camp (4200m)
Distance: ~ 5 km
Time: 4-5 hours
Zone: High Alpine
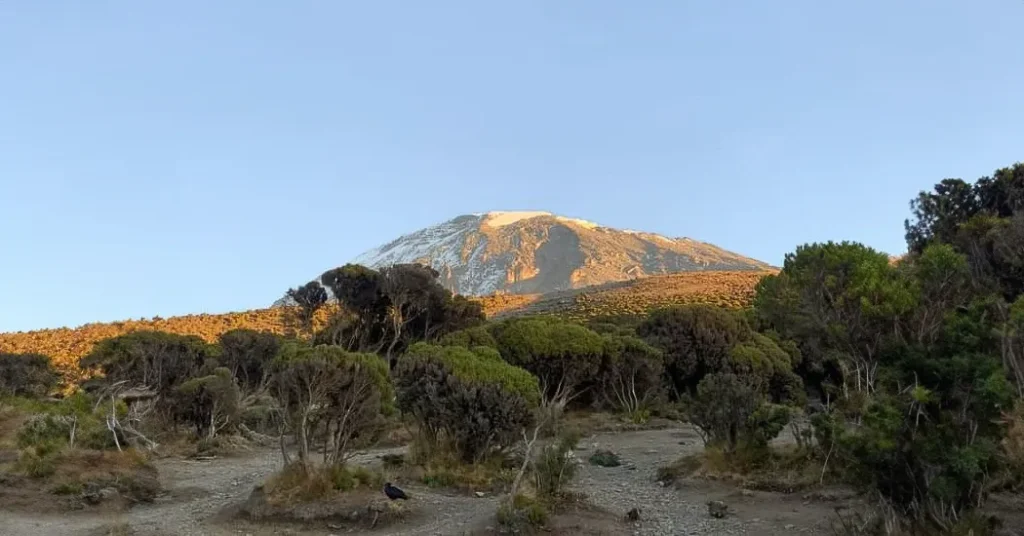
After breakfast at Barranco Camp, you will proceed to the Barranco Wall, a steep rock face standing at approximately 260 meters. This wall is steep, and at times you may need to use all four limbs to get a better grip. Following the strenuous ascent up the Barranco Wall, you will be rewarded with breathtaking views of Kibo’s southern glacier.
The next trek will take you through ups and downs to Karanga Camp (4200m), where you will arrive around lunchtime. After lunch, you’ll spend the rest of the day relaxing at Karanga Camp.
Dinner and overnight accommodation at Karanga Camp (4200m).
Day 5 : Karanga Camp (4200m) – Barafu Camp (4640m)
Distance: ~ 3.5 km
Time: 4-5 hours
Zone: High Alpine
On this day, you will hike through an alpine desert to Barafu Camp (4640m). During this trek, you will encounter strong cold winds blowing from the icy Kibo summit. Lunch will be served at Barafu Camp; following lunch, you will spend the remainder of the day relaxing in preparation for the summit night.
Dinner will be served early, allowing you to sleep a few hours before midnight. If possible, go to bed around 7 p.m., as you will be woken just before midnight to begin the final push to the summit (5895m). Before you go to bed, spend some time preparing your climbing equipment and clothing.
Day 6: Barafu Camp (4,640 m) – Uhuru Peak (5,895m) – Mweka Camp(3,100 m)
Distance: ~ 4.5 km ascent and 11 km descent
Time: 6-8 hours to the summit and then 5-8 hours to Mweka Gate
Zone: Glacial, High Alpine & Low Alpine
Around midnight, you will be awoken by a cup of hot tea and a light snack, after which you will begin ascending to Stella Point (5739m) on the crater rim. The route to Stella Point is through heavy scree; to increase your chances of making it, keep a consistent pace as you push toward the crater rim.
After a brief rest at Stella Point, you will begin ascending through a snow-covered trail until reaching Uhuru Peak (5895m) in 1–2 hours. At Uhuru Peak, you’ll be standing on the “Roof of Africa.” From the summit, you will have breathtaking views of distant lands beneath the mountain as the morning sun shines on them. Take as many photos as you can, enjoy the moment, and begin your descent.
The amount of time you will spend at the summit is limited; if you stay too long, the cold, fatigue, and insufficient oxygen levels may make it difficult to resume movement.
Depart from the summit for Mweka Camp via Stella Point and Barafu Camp. Once at Barafu Camp, you will take a short break and enjoy a warm meal before continuing your descent to Mweka Camp (3,100m).
Dinner and overnight accommodation at Mweka Camp (3100m).
Day 7 : Mweka Camp(3100m) – Mweka Gate(1980m) – Arusha
Distance: ~ 9 km
Time: 3-5 hours
Zone: Rainforest
After breakfast at Mweka Camp, you will take a leisurely descent through the rainforest to Mweka Gate (1980m). If you make it to Stella Point or Uhuru Peak, you will receive certificates at Mweka Gate.
Our drivers will be waiting for you at the gate, ready to drive you to your hotel in Arusha where you will take a long warm shower and celebrate your success and mark the end of the 7 Days Kilimanjaro Shira route.
Price
| PAX | 1 PAX | 2 PAX | 3 PAX | 4 PAX | 5 PAX | 6 PAX |
| Price | on request | on request | on request | on request | on request | on request |
Inclusions
- Safety Equipment:
- Professional Mountain Guides, all head guides (at least 1 per trip) currently certified by NOLS USA as WFR (Wilderness First Responder)
- Park Fees
- Campsite fees
- Emergency Rescue Fees
- Camping equipment and other gears:
- Mountain Meals
- Transfer from the hotel to the starting point
- Transfer from the last point to the hotel
Exclusions
- Accommodation upon arrival and last day
- Tips for a mountain guide, recommended 15-20 per group per day
- Porters 5 – 10$ per porter per group per day
- Personal expenses
- Personal items
- Personal insurance/travel insurance
- Personal medicines/first aid kit
- Personal trekking gears
- Sleeping bag
Frequently asked questions (FAQs)
What makes the Shira Route unique?
It offers a remote and quiet experience, with fewer crowds and early panoramic views from the plateau. The route is ideal for those seeking a less-traveled path.
What type of accommodation is provided?
This is a camping route, with tents provided at each campsite. A support team of guides, porters, and cooks ensures comfort and safety throughout the trek.
What scenery will I experience?
Trekkers cross the Shira Plateau, moorlands, alpine deserts, and summit zones, enjoying dramatic landscapes and ever-changing views.
What should I pack for a 7-day trek?
Pack layered clothing, warm gear, trekking boots, gloves, a hat, sunscreen, trekking poles, a headlamp, and a daypack. Proper gear helps manage changing temperatures.
Is the Shira Route suitable for beginners?
It is better suited for experienced or well-prepared trekkers, though determined beginners with good fitness can still complete it successfully.